Showing posts with label snack. Show all posts

Monday, 9 January 2012

Dumpling Making Time!

Vegetable Jiaozi at the front, XLB behind.
Shanghai is famous for its dumplings - xiao long bao or pork soup dumplings in English. These little dumplings are filled with pork mince and gelatinised broth so when heated a soup is formed. Now obviously i am not going to try these things so instead i thought i'd try making them as well as some vegetarian dumplings for me :)

My parents, myself and a friend, Mike, scored a private class at Chinese Cooking Workshop, where in 2 hours we would make both xiao long bao and mushroom and cabbage jiaozi.

All the prep was done for us so all we had to do was make the dough, mix the filling and fill. Sounds simple? Well it most definitely wasn't! Our chef was lovely and very patient and helpful and with the assistance of our translator, we made dumplings that roughly resembled XLB.


XLB are round buns with pleated tops. I asked how many pleats we were supposed to make but no one could say. I think chubby western fingers don't make for delicate tiny pleats!


Stupid podgy fingers!
My xiao long bao!
Unfortunately the following day i walked past Shanghai's most famous XLB establishment and saw the lady making dumplings, possibly 10 times faster than me and they were perfect! Put me to shame! It was interesting for me to learn that the gelatinised broth isn't put in the dumpling as one cube as i had thought, it was virtually minced and incorporated in with the pork mince.
.....someone struggled a bit more than others!

Next we made the vegetable jiaozi. These were so much simpler - no pleating of the dough involved! The filling contained diced shiitake, black fungus, cabbage, white pepper, salt, sugar, sesame oil, rice wine, ginger, green onion and light soy. After kneading, rolling, more rolling, squishing and more rolling of the dough, they were ready to be filled. The filling was easy - a spoonful in the centre, bring the sides of the dough together to form a half moon shape and seal using the web between your thumb and first finger.
Jiaozi filling
My Jiaozi!


After cleaning our benches the dumplings were all steamed for 10 minutes and then we sat down to enjoy them with vinegar Shanghai-style. It was amazing, steaming the XLB seemed to hide many of their flaws! They tasted pretty good even though some of them looked seriously dodgy!

Cooked XLB

It was a great class and the best thing i took from it (apart from how talented XLB chefs are) was how to make and roll proper dumpling wrappers.


Off to Yunnan province today. Will be an adventure!

Sarah xx

Sunday, 1 January 2012

New Years Eve Nibbles

Happy New Year!!! I hope the year brings happiness, health and excitement to you all!

Sundried Tomato Dip (left), Chunky Basil Dip (right), Za'atar Labneh (front)
Last night my friends and I gathered at a friend's for NYE. Considering the heat i decided to make a platter of nibbles to go with our drinks.

The sundried tomato dip is from EDC and it's super easy to make. Just place 1 clove of garlic, 160g unsalted cashews, 1 small deli tub of semi-sundried tomatoes, 2 tbsp grated parmesan, 1 red capsicum (chopped), 40ml olive oil and 40ml vinegar into a food processor or Thermomix and pulse 3-4 times until roughly chopped. It is so quick yet so delicious!

For the chunky basil dip i placed 80g pinenuts, 80g unsalted cashew nuts, 100g basil leaves (a big bunch), 1 clove garlic, 1/3 cup grated parmesan cheese, 40ml vinegar and 40g olive oil into the Thermomix and turbo-ed (pulsed) 3 times. You may need to add an extra tablespoon or two of olive oil however i didn't need it. Adding extra olive oil will also help the basil leaves to stay a vibrant green and not discolour so quickly.

Speaking of which i get so annoyed when i make pesto and it goes brown. I've tried putting a layer of oil on top and completely covering the surface with cling film but nothing seems to work! It's so frustrating! Over on the Taste forums it was suggested that pesto could be frozen so i've given it a shot. I placed some in a small ziplock bag to use tomorrow. Hopefully it will be as good as fresh. It looks like it's gone a bit of a duller green but it's definitely not brown.

Any other ideas how i can keep pesto a nice colour?  Or other suggestions on what i can do with basil? My basil plants have gone crazy this year!

Sarah xx

Saturday, 31 December 2011

Yoghurt & Labneh

One of the very first things i tried in my Thermomix was yoghurt and unfortunately i called it a Thermie Fail. Perhaps i was mistaken as i think thermos fail was probably a more appropriate title. For Christmas i was lucky enough to receive a yoghurt making kit from Cheeselinks

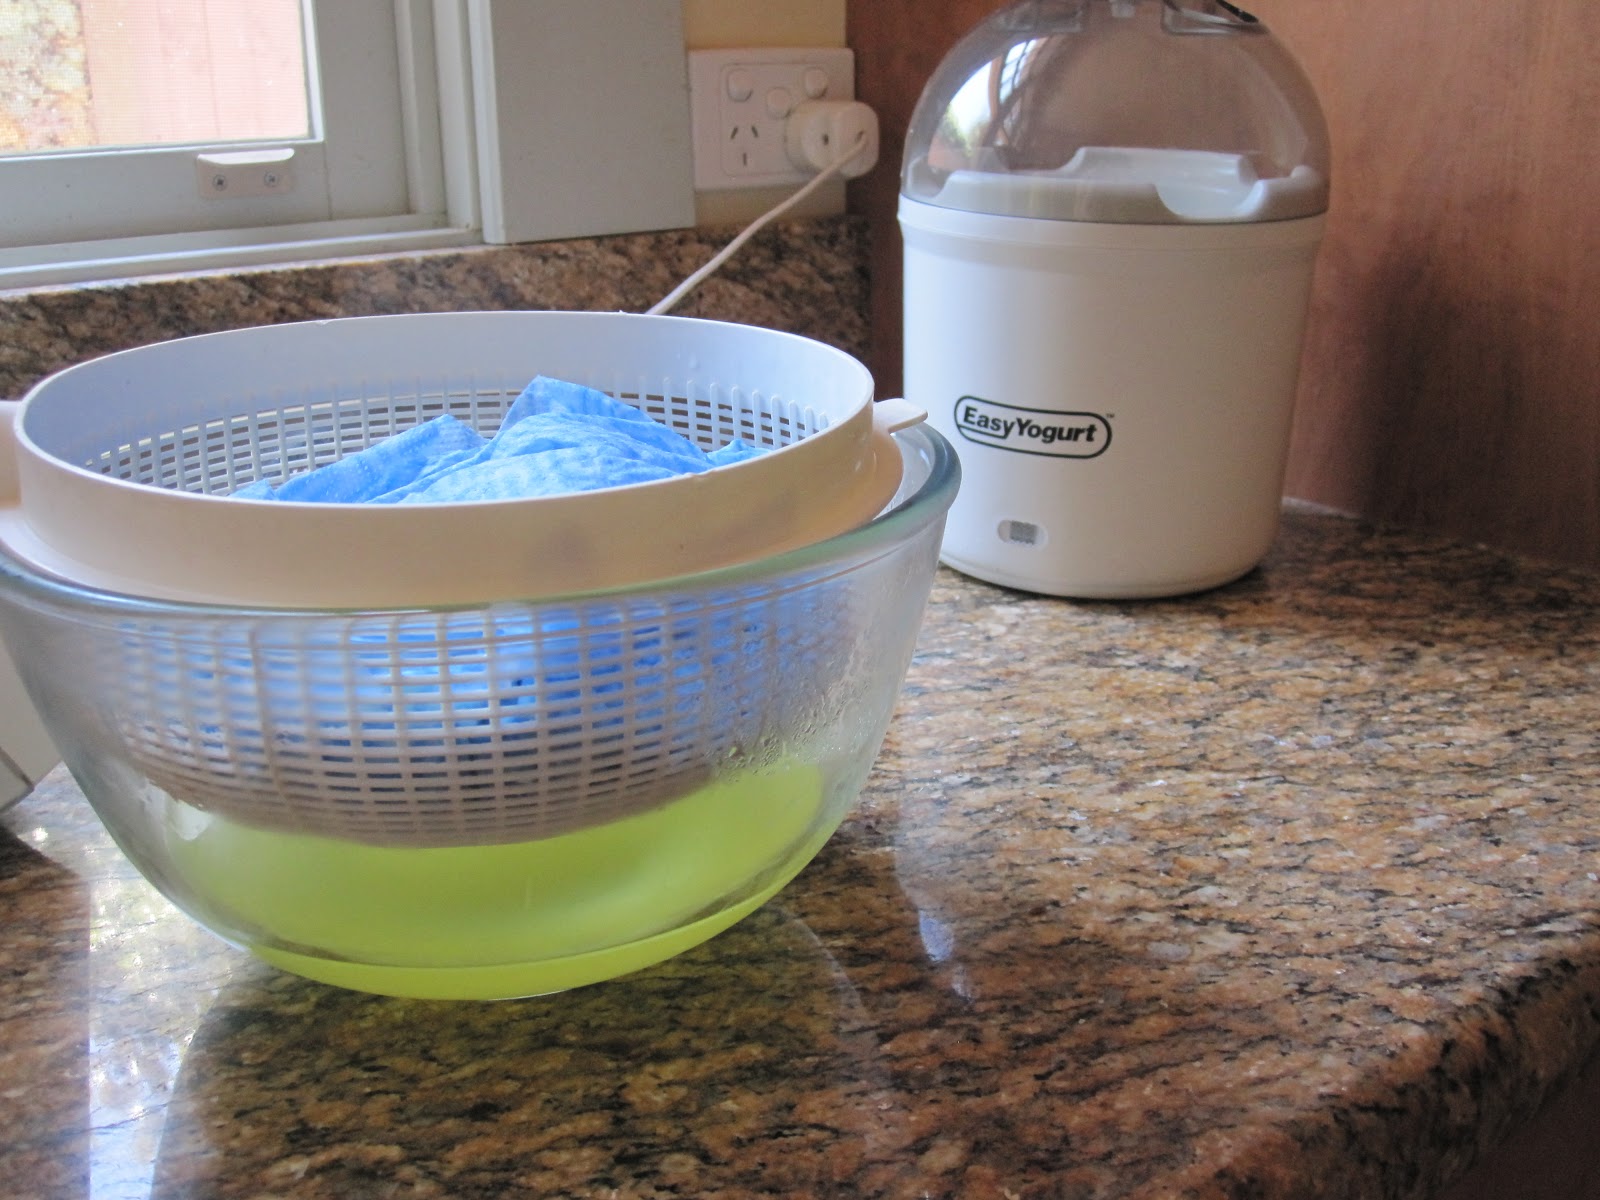
So all set with my machine (which basically is an electric thermos that keeps the temperature at 37 degrees) my starter culture and my milk, i was ready to begin!

It is so simple! All you have to do is mix 1L milk (UHT is easiest because you don't need to sterilise it first) with 100g skim milk powder and 1/10th teaspoon yoghurt culture. Pop it in the machine and 12 hours later you have delicious yoghurt!

After the yoghurt has thickened you need to put it in the fridge however before doing this i mixed in 1 tbsp vanilla extract and 2 tbsp agave to sweeten. You can make your yoghurt any flavour you wish - just add in the flavour/fruit puree/jam after it has thickened.  

Because i like my yoghurt thick, i used the extra milk powder, however you don't have to. I also used skim milk which worked fine. Another thing you can do if you like your yoghurt really thick is to drain some of the whey off but putting it in a clean chux or muslin.


Apart from being a bit chuffed that i'd made my own yoghurt (and hadn't given myself food poisoning in the process) i was also amazed by the cost. This yoghurt cost less than $2/kg which a massive saving when you think that supermarket yoghurt costs upwards of $6/kg.

So after my initial yoghurt success i set out to make some labneh or yoghurt cheese. It is so simple! All you need is 1kg yoghurt, 1tsp salt and a chux. If you don't have homemade yoghurt just buy any type of thick unflavoured greek yoghurt. For my yoghurt i used 1L full cream UHT milk and 100g skim milk powder plus the culture. 

All you have to do is get your chux, a colander and a bowl and immerse in boiling water to sterilise. Then, pop the colander over the bowl and line with the wrung out chux. Mix the salt into your yoghurt and pour into the chux then tie with a rubber band then pop it into the fridge. I left mine for 24 hours however i think 12 hours would be enough as i noticed that the majority of the whey drained in the first 12 hours.  


Once you think you yoghurt can drain no more, remove it from the chux. With any luck it should look like this.....


 Now the fun bit starts - rolling labneh balls! OK well it wasn't as easy as i expected as the yoghurt kept sticking to the spoons. I used 2 teaspoons and sort of quenelled the labneh. Luckily once you roll them in whatever coating you choose they end up as perfect balls! So i wouldn't worry too much about getting them pretty initially.
Dodgy uncoated labneh

I used za'atar to coat the balls. Za'atar is a middle eastern spice mix made from sesame seeds, sumac, thyme and salt. You can use any spice mix or fresh herbs to coat the balls. It really is up to you. Otherwise you can leave them uncoated and store them in an oil-filled jar.

They magically became round!

 Labneh can be eaten as part of a mezze, spread on bread or on biscuits. It can also be added into salads or eaten straight! Labneh doesn't always have to be savoury either. It tastes similar to cream cheese so can be used in sweet dishes (perhaps omit the salt!) Either way i'm really pleased how these turned out. Although it takes a bit of time to let it drain etc, it really is very easy and cheap to do!

I love my new toy and i'm sure it will be used very frequently from now on. I'm hoping to experiment with some dairy-free milk yoghurts in the future and see what happens!

Sarah xx


Sunday, 20 November 2011

Smoky Eggplant Hummus

I'm always stuck with random vegies and leftover bits and pieces in the fridge. In winter these usually become soup but as the weather warms up they are more often becoming dip. So what happens when you find 3/4 eggplant and a cup of chickpeas in the fridge? You turn it into eggplant hummus of course!


Smoky Eggplant Hummus

1 small eggplant
1 clove garlic
1 tbsp olive oil
1 cup chickpeas (cooked or tinned)
1 tbsp tahini
2 tsp cumin
2 tsp pomegranate molasses
salt and pepper to taste
sumac to sprinkle on top

Cook your eggplant over a naked flame or in a barbecue until the skin is black and the inside is soft and squidgy. When cooled remove flesh from skin and set aside. Place garlic and olive oil into the Thermomix bowl and chop for 5 seconds on speed 7. Scrape it down off the sides then cook for 2 minutes at 100C. Add remaining ingredients and blend for 20 seconds on speed 5-6. Depending on how runny you like your dip you can add a bit of water to thin it out if desired. Scrape into a bowl and sprinkle with sumac. Enjoy!

Sarah xx